Using TinaCMS with Docusaurus
Docusaurus is a powerful React-based SSG for creating beautiful documentation websites with ease. Given it's designed primarily for docs maintainers, the user experience is built around working with the filesystem and editing files directly. It's a very flexible system that leverages multiple filetypes, meta file configuration, javascript files with hard-coded content, and auto-generation. With Tina you can leverage the powerful features of Docusaurus from a simple but flexible editing UI.
This guide is based on adapting the Docusaurus Classic Example to work with Tina's basic editing. You can find the completed Tina + Docusaurus starter here.
Setup
To start, we have to shape the data to be more consistent so it will align with the schema we're going to write. The docs and blog content is a mixture of .md and .mdx files alongside some .json meta files used to describe how the folders get displayed in the "docs" sidebar. We'll remove the meta files given we're going to write a schema for the sidebar to be manually controlled by the editor, and we'll migrate all the .md files to .mdx. For the blog, we'll extract the filename embedded dates to the MDX frontmatter, and we'll inline authors given Tina's reference system is based on individual file references and not a single data file like authors.yml.
// Authors.yml key referenceauthors: [endi]// Inline authorauthors:- name: Endilie Yacop Suciptotitle: Maintainer of Docusaurusurl: "https://github.com/endiliey"image_url: "https://github.com/endiliey.png"
For managing images with Tina you'll want a central folder for all your images, which can contain subfolders for docs or blog specific images as needed. Move all the collocated images to the static folder and update them in the .mdx files as needed.
// Collocated image// Centrally located image
Docusaurus supports globally registered .mdx components so you don't have to import them locally. We'll register all the components we'd like to set up for editing with Tina so they can be added from the rich text editor.
import MDXComponents from '@theme-original/MDXComponents'import CodeBlock from '@theme-original/CodeBlock'import Details from '@theme/Details'import Tabs from '@theme-original/Tabs'import TabItem from '@theme-original/TabItem'import DocCardList from '@theme-original/DocCardList'export default {...MDXComponents,Details: Details,CodeBlock: CodeBlock,Tabs: Tabs,TabItem: TabItem,Admonition: MDXComponents.admonition,DocCardList: DocCardList,}
Next, we'll have to modify sidebar.js, docusaurus.config.js and pages/index.js to pull data from .json files so the content can be edited in Tina. By default Docusaurus's sidebar is autogenerated, so this also means replicating the existing sidebar data and setting the sidebar to manually generate from our data. Docusaurus is flexible but still requires data to take a certain shape, so you'll need to write a parsing function to shape it as needed.
const sidebarData = require('./config/sidebar/index.json')const getItem = (item) => {/* Shape data for use by Docusaurus */}const sidebars = {tutorialSidebar: sidebarData.items.map((item) => {return getItem(item)}),}
Now that our data is ready it's time to write a Tina schema. This is where you have the power to create exactly the editing experience that you want. In Tina content is contained in collections, here's an example of the schema for the docs collection:
{name: "doc",label: "Docs",path: "docs",format: "mdx",fields: [{type: "string",name: "title",label: "Title",isTitle: true,required: true,},{type: "string",name: "description",label: "Description",},{label: "Tags",name: "tags",type: "string",list: true,ui: {component: "tags",},},{type: "rich-text",name: "body",label: "Body",isBody: true,templates: [...MDXTemplates],},],}
You can see you have control over what the data looks like, what fields are required, what UI is used, where the content is located, what format it's in, and more. Given your schema is JavaScript you can render anything you want, including a custom warning component:
// Custom componentconst Warning = () => {return (<p><WarningIcon />This is a custom warning callout.</p>);};// Custom field{type: "string",name: "_warning",ui: {component: () => {return <Warning />;},},},
Editing
Once we've written our schema and everything's wired up, we'll be able to edit from Tina's UI.
Editing the blocks-based homepage with Tina:

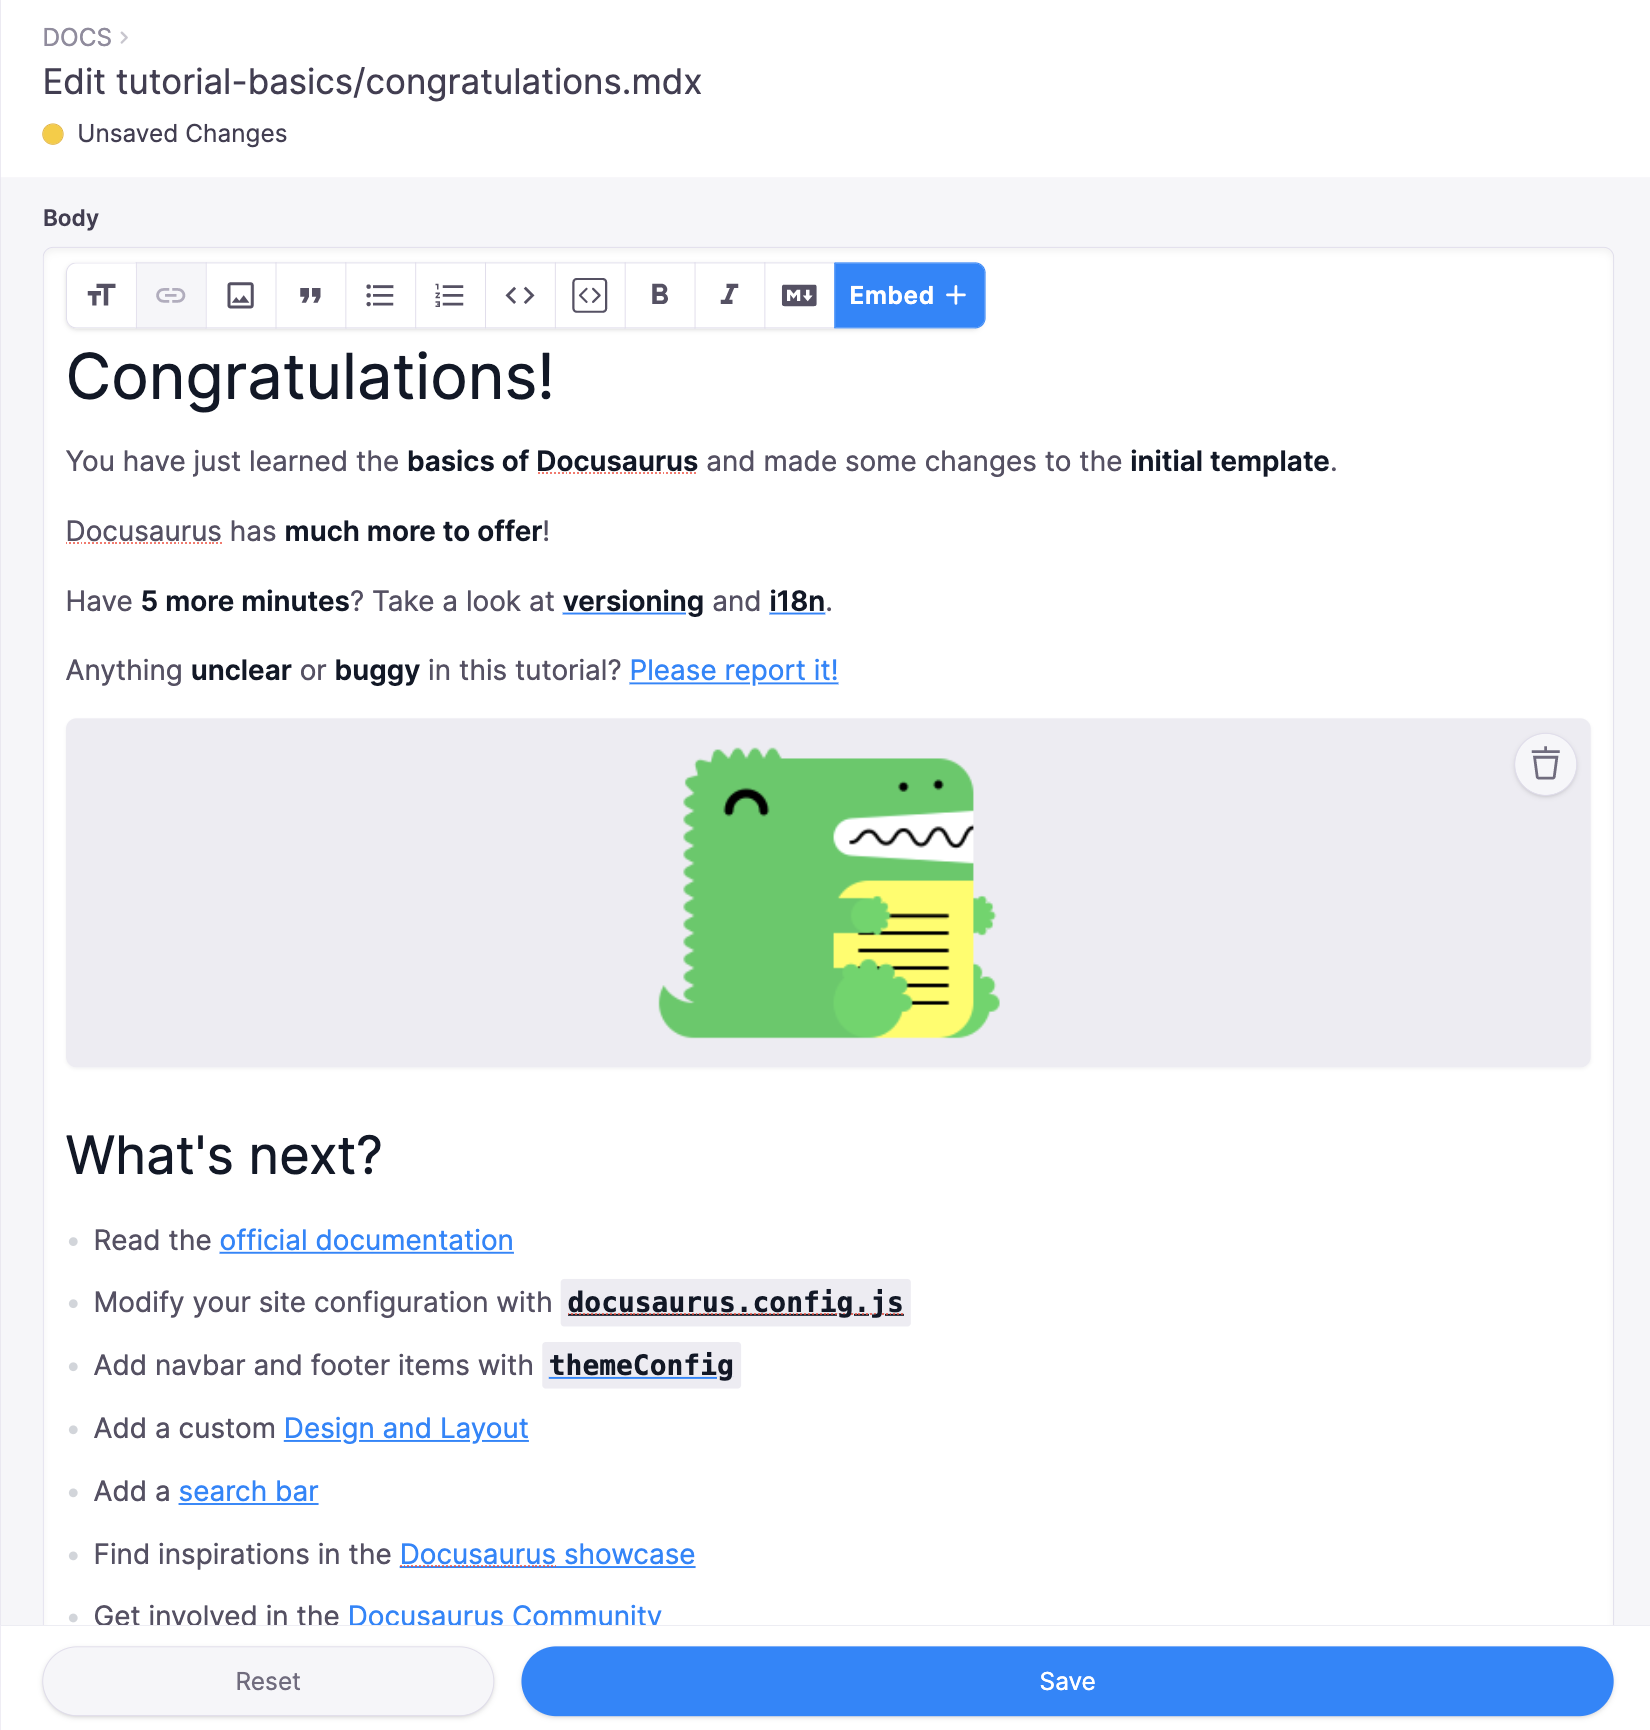
Editing an MDX page with Tina:

Notes
This only scratches the surface of what you can do with both Docusaurus and Tina; to learn more about Docusaurus, check out their docs.
Comparisons
© TinaCMS 2019–2024